Pages

Welcome!

Hi! I'm Shana and I want to Share with you a part of my life with this site in the hope that it holds something of value to you - A Solution Shared! May it be a blessing to you!
Showing posts with label Outdoor/Gardening. Show all posts

Wednesday, April 4, 2012

Economical Indoor Germinating - Let's Get Growing!

It doesn't need to take a lot of time and money to get your seedlings started growing indoors and germinating. Seed starts are easy, fun and educational for children too! I like to re-use my see-through plastic containers for this purpose, such as plastic cupcake or fruit containers with lids attached or large apple (bubble type) containers from costco to make a greenhouse type set up instead of purchasing and recycle/ use small clean plastic drinking or yogurt cups. I purchased a quality seedling starter soil and seeds from my local garden center and fill the "bubbles" or cups. You can also just get the small round peat disks that contain similar ingredients as a seed starter soil and follow directions for them to expand by adding water. (and then no bag of seed starter soil is necessary). But make sure they are kept moist.

I put a small hole in the bottom of the cups and plastic trays for drainage and put a container or pan underneath so watering is easy by filling bottom and it soaks it up through the holes made. Fred Meyer usually has a great deal on seeds (as pictured previously.) Just follow planting instructions per packet for indoor starts. If the seed packet doesn't specify you can start indoors first, I typically will plant those directly into the garden when it stops frosting at night (later in the Spring). This is just from my personal experience for my climate the last few years. Your area may be more accommodating earlier in the season. 
After you have filled the containers with seedling mix soil and put your seeds in (or watered your peat disks so they have expanded and filled the cup), I keep them in a warm area, such as up on top of my refrigerator or near a light. When they start to germinate and pop up a nice sunny spot works great to re-position them to. You can raise the lid as they grow (I usually find a popcicle stick or a chopstick to prop the lid open with and cover the gap with some plastic wrap.)
These squash seedlings popped up quickly in about 6 days. Remember to not let them get too dry but keep moderately moist but too much will cause rot. You may need to re-pot to a larger pot if roots start getting too cramped I have found. I like to acclimate the plants eventually for a short time on my covered deck during the day and bring them in at night for a week or two also before putting them in the vegetable or herb garden.

Get more growing tips here at Garden Guides.

Saturday, June 25, 2011

Make at Home, Fruit and Veggie Wash

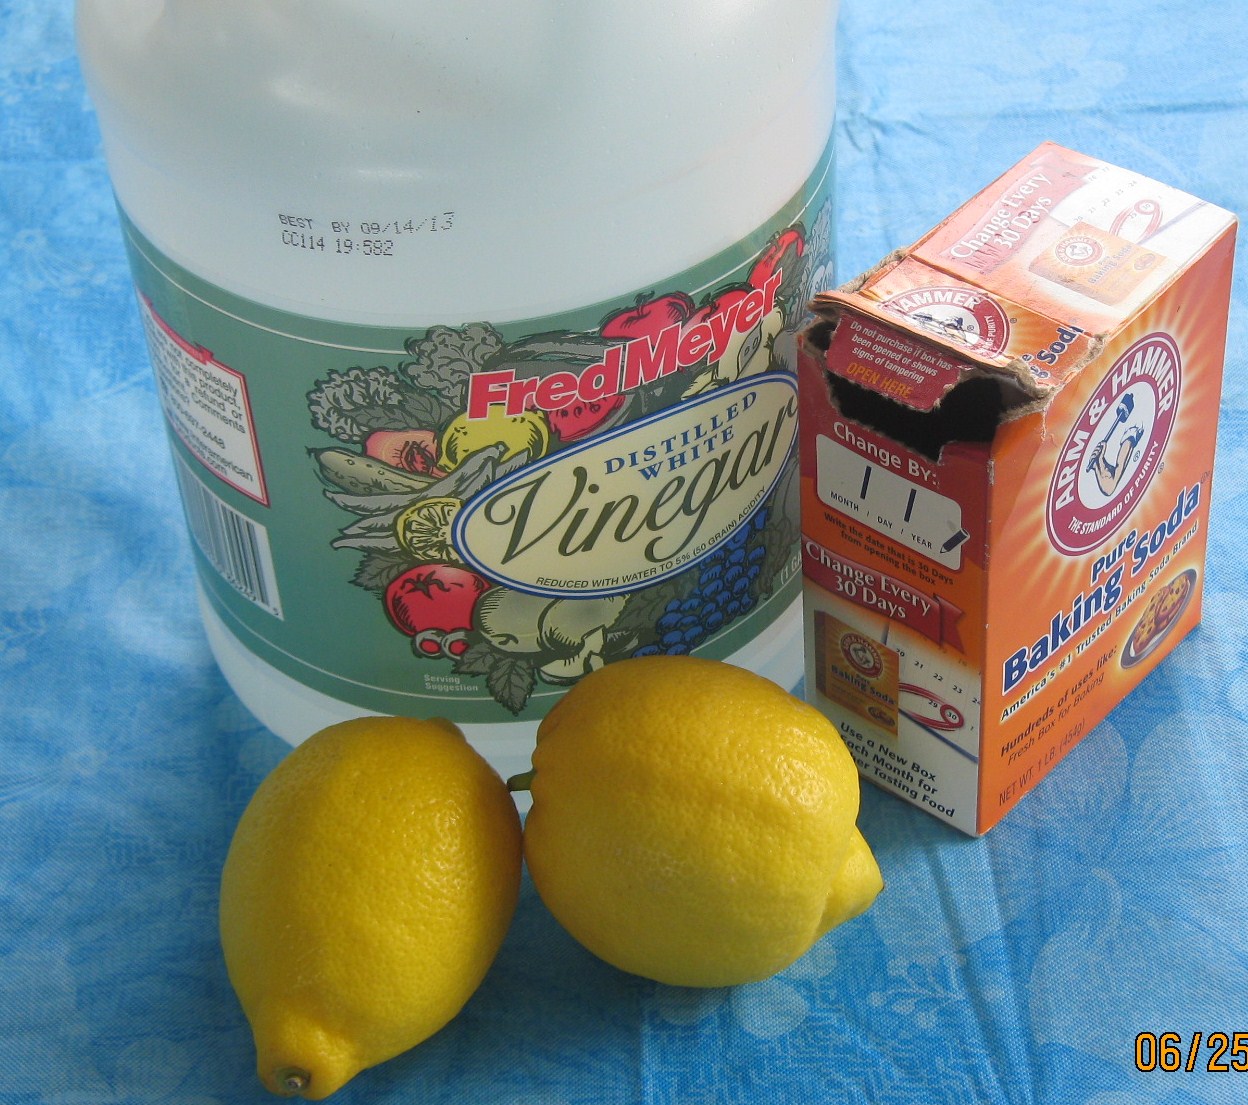
Recently, I ran out of Fruit and Vegetable Wash and just didn't want to drive to the location that I originally purchased (Trader Joes) with gas prices what they are, it just didn't seem justifiable to do so when I just had a feeling their must be a natural way to do so from ingredients at home because the ingredients are basically "natural". I tried several fruit and vegetable wash "recipes" and this seemed to be best for my use requirements. The vinegar has natural antibacterial properties and the lemon is a natural astringent. This solution helps break down and remove pesticides so you can feel better about the health benefits than using just plain water.
(NOTE)  Just remember if you are going to wash "soft" skinned fruits such as strawberries, you might add the spray to some water in a bowl to dilute, and rinse well after soaking briefly to avoid any heavy vinegar taste.


Ingredients:
1 cup water
1 cup distilled white vinegar
1 tbsp baking soda
1 tbsp lemon juice (from lemon)


  • Combine all ingredients above. (I like to combine into a pourable pitcher). The reaction of the baking soda and vinegar will cause a "cool" bubble reaction or "explosion",as my son says! but will subside quickly :)
  • Pour into a spray bottle with a pump (or a jar with a lid.)
  • Spray mixture on produce and let sit for 5 minutes.
  • Scrub (if necessary), and rinse well.  (Or if just storing mixture in a jar, pour some  into a bowl, add a little water, then the fruit and soak briefly before thoroughly rinsing.)
I like to store this Easy Fruit and Veggie Wash in the refrigerator for a few weeks at a time, then make more as needed!

Thursday, June 16, 2011

Make Your Own Hummingbird Feeder


Here's an easy, fun kid-friendly project to do this summer if you would like to try attracting hummingbirds to your garden before you go out and spend a fortune on fancy feeders. My son and I really enjoy the rare moments we have been able to see these amazing little birds and their high bursts of energy "flitting by". Let me know how this works for you :)

On a note of interest....Hummingbirds are the only group of birds that are known to be able to fly backwards!


Go Here to Make Your Own Hummingbird Feeder

Here is another good site to check out for what would be good to grow to attract them too!
How to Attract Hummingbirds

Monday, May 9, 2011

Getting your garden ready

I am so excited to begin the process again this season of getting my garden ready for our summer favorites! I don't consider myself an expert in this area but I have learned a few tips from the years in my particular climate with certain flowers, herbs, fruits and vegetables that I hope may be of assistance in the next several months. I also will post some websites with gardening information that have been very helpful for me. Garden Guides and The Sequim Lavender Festival blogsite (to get things started) has great tips for herbs such as lavender, my favorite!
If you have children, get them involved in the planting process too. I like to set up an area just for my son to plant his favorites and learn each year as well. We have a great time getting dirty and many homeschool science lessons have been completed in the backyard and nearby farms and gardens.


gardenguides.com

http://www.youtube.com/watch?v=USwoUgSdWR8